Showing posts with label Closet. Show all posts

August 16, 2012

Mini Loos

We love our home.  We love the location, the style, the age (+50 years) and the back yard with it’s 35 year old grape vine arbour … well that’s what sold it for us.  And I’m not even going to mention the large attached garage that has been re-dubbed “The Lounge” which now doubles as a music studio, bar, surplus furniture warehouse.

One of the few things we don’t love is the fact that there is no washroom on the main level.  There’s one on the second storey and one in the basement, but you’re out of luck on the main level.  Not only is it a convenience we miss, it is an issue for guests who find stairs a challenge.

So, what to do???  We are currently in the process of planning an addition of a covered front porch.  The plans include a future enclosed entryway.  When that happens we will convert the current front closet into a mini powder room.  And when I say mini, I’m talking 36”x43”.  Yup – miniscule!

This got me searching the wonderful wide web for a “little” inspiration *snicker*.  I guess we’re among the minority because I couldn’t find too many mini loos as inspiration.  But here are the few I did find:

There is so much I love about the one above – the wallpaper for one and the built-in book case (for the all-necessary reading material).  But the best is the mirror – did you notice it?  The snowshoe is a mirror – genius!!!
Ours will be very similar in size the one above, although I don’t think we will have room for a pedestal sink.  I like how the floor continues into the powder room.  But, people, when you are taking pictures of your work, take note of the little things … like the extra roll of TP – really????
This next one really IS in a closet!  Love it!


Source: room-galleries.myhomeideas.com via Donna on Pinterest

Source: ideastosteal.com via Donna on Pinterest

I like this one for the size of the fixtures, and how they’ve built around the tank and heater.  Not quite sure what’s going on behind the toilet – looks like the cover may have been pushed back through the wall – oops…

Here’s a couple of examples show how to make the room seem bigger with wall treatments:

I did manage to find some neat fixtures – like the sink above – and these next ones too …

Source: digsdigs.com via Donna on Pinterest

Source: blog.thebathoutlet.com via Donna on Pinterest

Source: astonmatthews.co.uk via Donna on Pinterest

And finally, hubby has his vote in for this one .. me, ummmmm, not so much …

Source: scooper.com.au via Donna on Pinterest

However this turns out, I’ll guess I should  just be happy if I don’t have this :) …

Source: bing.com via Tammy Lenover on Pinterest

So, have you a mini powder room?  Or have you seen or used one?  If you have any suggestions, I’m all ears :)….

30548A92FAA8E7E295C558C62B466B77


October 31, 2010

Mastering the Big Picture

I’ve been telling you all over the last several months about projects we’ve undertaken here at home.  One of those has been our new master bedroom.  Renovating is a very s….l….o….w…. process when you are doing it yourself.  If a client was involved the choices would be made, acquired and installed within a projected timeframe.  When it’s your own room, the money isn’t always available to get what you need or want right away.  And when you work this way, it’s sometimes difficult to end up with a room that looks pulled together.  Here’s how I’ve done so far…

Just to remind you, here are some inspiration photos for my renovated master bedroom:

sarahs-house-master-bedroom-image1_0

sarah2

sarahs-house2-master-bedroom-image1

Sensing a trend here????  I love the soft, calm together look of the bedrooms Sarah designs.  I love the greys, blues, creams and whites.  I love the contrast of those colours with the dark pieces.  And I love the small touches of shimmer with the metal and glass elements. 

So, with these inspirations in mind, I’ve been at work in the master.  It’s not ready for a full reveal, but I’ll give you a sneak peak of the elements I have so far…

  • I have picked my colours - a beautiful shade of grey/taupe for the walls and a slightly creamy white for the trim.

                                  MPC0004995-2MPC_BM_OC-118-2

  • My oh so handy hubby gave us the closet of our dreams – really I’ve reduced the number of closets I use in the house by 66% – down from 3 to 1!

IMG_3743

  • And he’s also done a phenomenal job on replacing the old trim with some of his own designs which adds some nice architectural detail in the room

IMG_3744

  • I’ve totally re-invented an old dresser into a lovely new piece (you can read about that here)

  IMG_3590

  • I found a steal of a quasi-antique dresser for hubby on kijiji. 

IMG_3738

  • I have two beautiful Kelly Wearstler patterned pillows that I won from a giveaway over on the Kerrisdale Design blog.  These fit quite nicely in the room.

IMG_3587

  • I purchased two (yes two) sets of lamps for our room.  The first set was bought for the form.  The form doesn’t give off a lot of light, so is used for “mood” lighting.

IMG_3591

And the second for the function which also happens to have some wicked form and throws the perfect amount of light for reading in bed.

IMG_3750

  • I have a gorgeous area rug for the room that I found at HomeSense.

IMG_3714

I’m loving all of the elements I have so far, but I’ve struggled with picking an accent colour that I could use to put pop into the room.  With the walls being so neutral, I could literally pick from a multitude of accent colours.  In fact, that is why I love the colour of the room so much.  Without a whole lot of work or money I can change up the feel of the room just by changing the accent colour.

Then I was at Home Outfitters the other day and bumped into Brian Gluckstein.  Well, not literally.  (Although, I did see him at IDS 2010 in Toronto this past January.  Oh and did I mention that I was talking to Jane Lockhart at the time.)

                                             bgluckstein_editJane01

Ok, enough with the name dropping, back to my encounter at Home Outfitters.  I’ve been searching for the “perfect” winter bedding for the room.  Something that would tie all of the colours in the room together and add that accent colour.  And I found it in one of Brian Gluckstein’s Home bedding products.  The pattern is called “Suede” and is a great combination of all of the colours in the room in addition to a nice light blue that actually provides a really nice accent colour.  The bedding is reversible too so I can have two different looks.  Here’s both sides of the sham:

       IMG_3752IMG_3751

And here’s a peak at what the room looks like now:

IMG_3754

I still have quite a few items on my list to complete the master bedroom. 

  • I need a mirror for above my dresser – in fact there is NOTHING on my walls at all.  I tell myself I’m still admiring my excellent taste in paint colours (snort) but we all know I’m afraid to put a nail in the perfectly finished walls
  • I need to refinish the chair that will be placed in the room
  • Window treatments are on the list
  • I also haven’t decided on what to do with my bedside tables

Hopefully I’ll be finalizing the last few pieces over the next month or so and have a finished room by Christmas :)!

Have a great week folks!


April 24, 2010

Odds & Ends continued…..

Alright, now I’ve updated you on my dining room redo that is more like a kitchen/dining room reno dream, I’ll take a stab at the other projects on the list…

This little project has more to report!  At some point last year (August timeframe) our oldest daughter moved out and freed up a bedroom on the second floor for some creativity on Mom’s part – yippee!!  She has since moved back – sigh – but that’s another post for another day :)!!

Some inspiration. pondering and planning discussions with the labour half of this marriage and we had a plan.  My initial plan was only to paint the room, but after our “planning” discussions it turned into a bit more (isn’t that always the way???).  So painting the guest room turned into:

  • Close up the existing closet (which is between guest room and master) to be opened from the other side doubling the closet space in the master
  • Build a new closet in guest room with colonial sliders
  • Remove and replace existing ugly trim with colonial trim – which turned into new trim on the whole 2nd floor
  • Replace bedroom door with new colonial door – which turned into new colonial doors on the whole 2nd floor
  • Replace door handle – do I have to say it?
  • Replace the electrical outlets and switch – uh-huh, more of the same :)
  • Paint ceiling, room and trim

Although we are doing one room at a time, the first one seemed to take for-ever!!!

Right now it is 99.9% complete with only trim to complete on the hallways side of the door and furnishings.  Here are some pics taken through the process so far:

IMG_2698

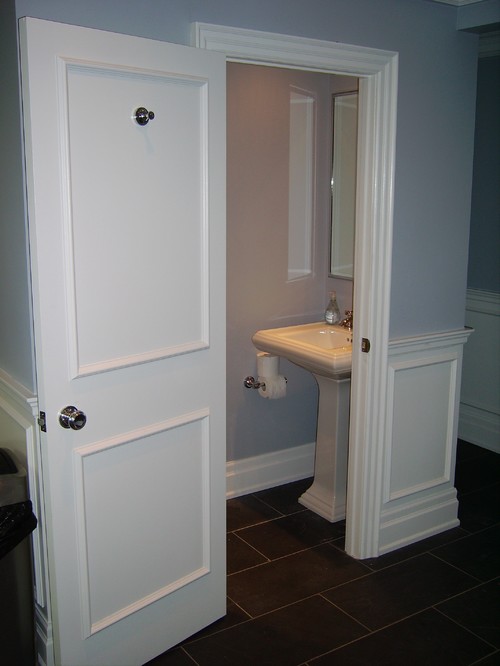
Looking in from the hall – the old closet door has been removed.

IMG_2701 

My “handyman” checking out the inside of the closet.

IMG_2699

Ugly baseboard and the complicated wiring setup.  The cable wire comes up the register and is stapled around 90% of the baseboard in the room then goes through a couple of holes in the closet into the master where there is more of the same.  And we won’t even try to explain how the telephone wiring is done.  There are outlets in all three bedrooms, yet only the master works – huh???  And – to top it all off there is only one outlet on the main floor – and it’s on the wall in the kitchen.

IMG_2703

Here is a shot of the closet closed in with the gyprock removed from the closet – YES – it was that colour INSIDE the closet???  And you can see the old interior door that we will replace.

IMG_2714

New closet framed in and mudded – nice and large!

IMG_2718

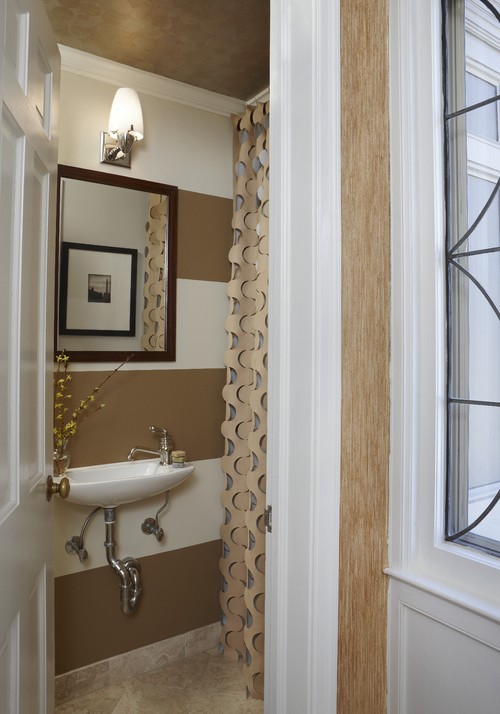
View from the hall into the room – wall is the side of the closet.

The colours I chose for the room are:

 MPC0004995-2

Benjamin Moore’s Silver Marlin for the walls (which reads a lot more blue green than on this screen).  In fact it reads very different on the walls at different times of the day – light blue, turquoise and sometimes lavender.  I LOVE it!!!

 MPC_BM_OC-118-2

And Benjamin Moore’s Snow Fall White for the trim and doors.

I’d love to show you what the room looks like – but right now it’s a bit  messy.  That’s because it’s being used to store the tools while we complete the flip side of this reno (isn’t there always a flip side of your reno?) which is doubling the closet space in the master bedroom!  WOO HOO!!!  Now every woman wants more closet space right?  Uh-huh!  Right now, I’ve got my clothes in one and 3/4 closets, while hubby’s got the other 1/4 (hehehe) and has resorted to keeping his dress shirts in the basement, so they stay pressed and aren’t squeezed together is his 1/4 closet.  Not to mention the fact that these are closets from the 1960’s with the an old single hung  door making it hard to get to the ends of the closet.  I could go on, but I’ve complained enough – let’s get onto the good stuff.

Here’s a shot of the tear downIMG_2981 You can see the red-brown of the closet interior – yikes – I hope the spare room wasn’t entirely that colour at some point – that would have been depressing!  If you look closely on the floor level you see where the wall was removed (the pillow is where one of our puppies sleeps at night :)) and how the furnace duct is partially covered by the wall (???) which we really can’t do very much about, but it will be better exposed with the new closet.

image

To keep it uniform, hubby has cut away the rest of the hardwood  to the other wall and will install a diagonal strip of oak as the threshold between the room and closet. 

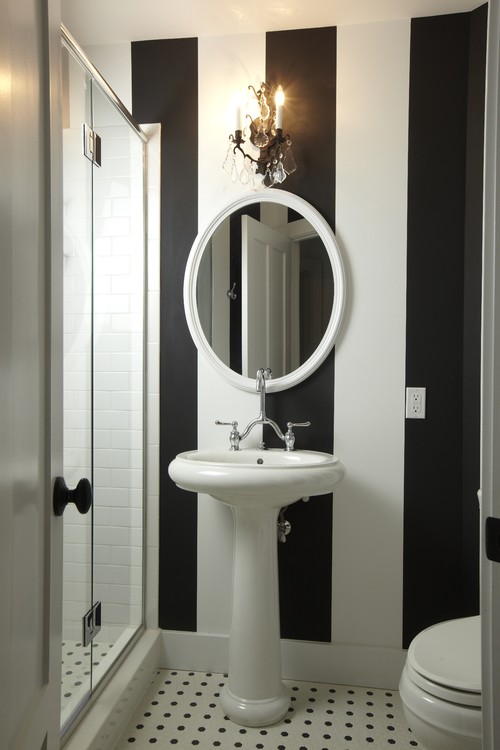
Now for the new closet doors … I was thinking of a three panel colonial slider door for the closet, with the middle panel a mirror, but I’m wondering if a bi-fold may be a better option – or  maybe something like this – I found this Sarah Richardson room over on Design Ties.

image1

And once we decide on the doors, we’ll have to pick a new room colour – something a little brighter than the olive green that’s there now.  I’m loving the blue grays (as you can tell from the guest room colour), but will be looking at ALL palettes, which  may pose more of a problem because it’ll take me much longer to decide :(.

The work continues on the master closet … but today it was too nice and we got outside to do some much needed backyard cleanup.  I snapped a few pics (OK more than a few) while I was out there of my beautiful magnolia, who is having one banner year of blooms!!!

IMG_3006  IMG_3008 IMG_3009   IMG_3012  IMG_3014 

Hope you are enjoying your weekend as much as I am!

Related Posts with Thumbnails